Browsing Category

Guides

Guides For Your Changing Home & Space

Entertaining, Home Decor & Furniture, How To Published: March 1, 2017 | Updated: August 16, 2024

How to Arrange Outdoor Furniture

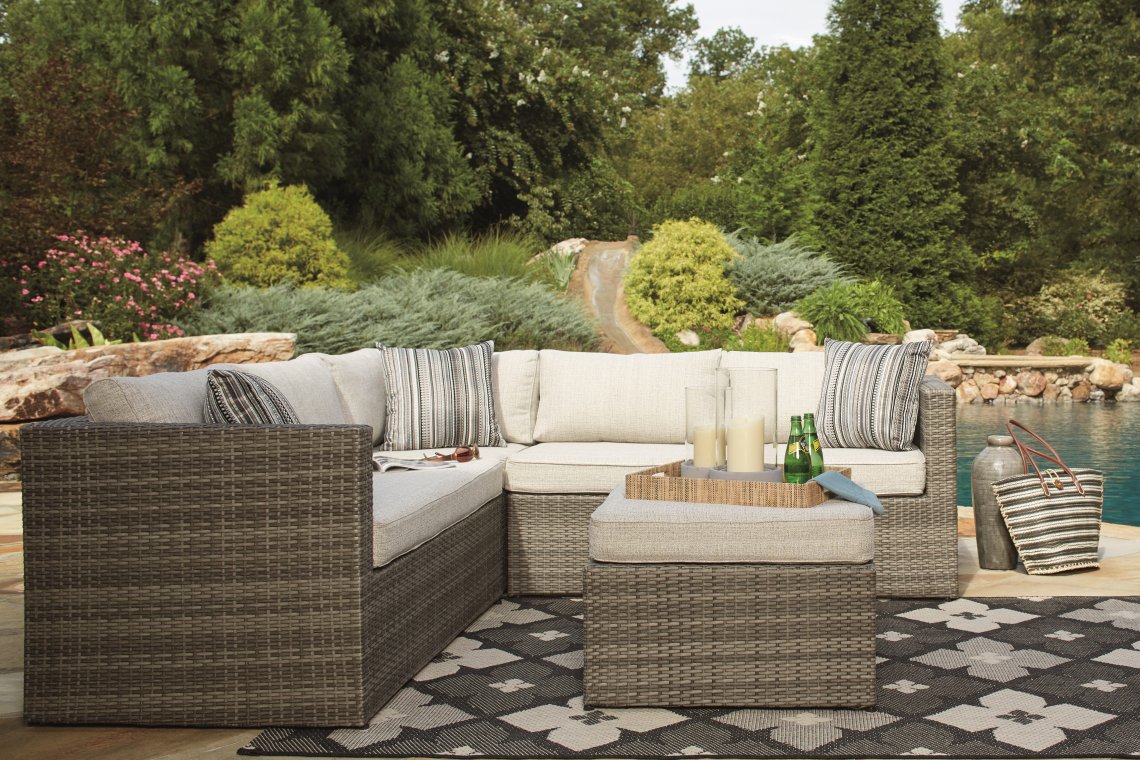
All eyes are on outdoor furniture, and it’s no wonder why. Exquisite style merges seamlessly with all-weather materials for furniture you’ll love relaxing in throughout the changing seasons. However, just as you would with interior spaces, give careful consideration to furniture placement. Read on for a few tips on how to arrange outdoor furniture to best suit your landscape and lifestyle.

THE EYES HAVE IT

Your eye is naturally drawn to a focal point when you enter a room, even if that room is outside. The focal point could be a fireplace, a paved veranda, or a pool. If your outdoor area doesn’t have a natural focal point, you can create one with furniture. A sectional is a great place to start as it’s substantial enough to draw attention.

TIP: Measure your space before purchasing to avoid overcrowding.

MIND THE TOES

Similar to decorating inside, keep in mind the traffic flow. Consider how guests enter and exit your outdoor living space and place furniture accordingly. Try to position furniture so the heavy traffic areas are behind or to the side of the main seating area to prevent foot traffic in front of you or guests.

TIP: Use an outdoor area rug to define your space and provide comfort underfoot.

DIVIDE AND CONQUER


If your outdoor area is large, consider multi-purpose zones. You might have a sectional seating group in one zone, a poolside bar in another, and a dining table and chairs in the next. To increase eye appeal, coordinate the zones by keeping color and/or furniture styles consistent, so it doesn’t look like a mish mash. Even if styles are different, just adding color coordinated cushions and outdoor rugs can help bring it all together.

TIP: If you’re a grill master, make sure the cooking equipment is away from the main seating area to avoid enveloping your guests in smoke.

LESS IS MORE

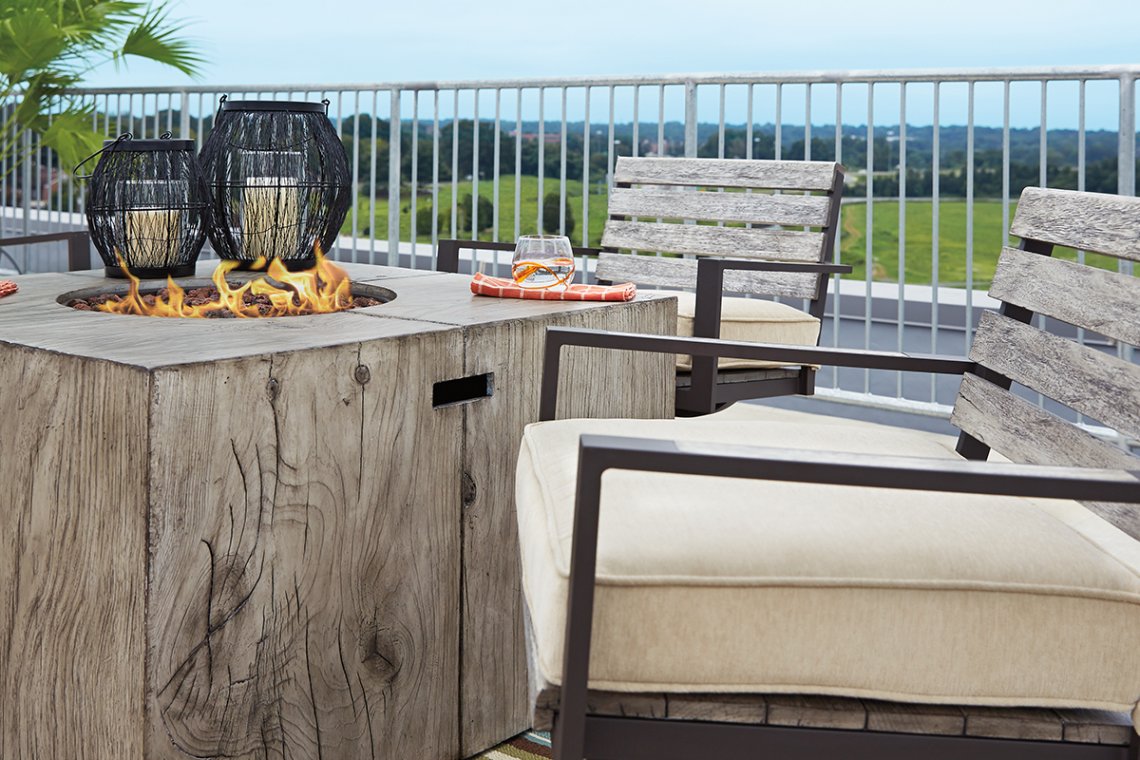
Even in the great outdoors, you can feel cramped and crowded if there’s too much furniture. In tight spaces, think about ditching the large dining table and opt for a smaller seating group. You might enjoy a fire table with deeply cushioned lounge chairs for comfortable, casual entertaining. Even better, choose a fire table with enough space for drinks and nibbles.

TIP: Furnishings that can pull double duty are ideal for smaller spaces. Ottomans or tables with storage space can help keep the area tidy.

Don’t forget to pin your favorites!

Entertaining, How To, Our Friends Published: February 21, 2017 | Updated: August 16, 2024

Do’s And Don’ts From An Actual Airbnb Host

If you aren’t an Airbnb host yet, chances are good that someone in your social network is. Meet Rachael G., who along with her husband have rented out their Nashville home since early 2016. In addition to the added income, Rachael loves being in control of when and who she rents to, as well as the rental fees. Here’s a few of her tips for being a host and making guests feel at home.

Get the Proper Permits

Many municipalities require hosts to have a short-term rental permit. “We learned about this the hard way,” Rachael said. “The city monitors Airbnb. After reading reviews on our page, the city served us with a court date and we ended up being fined for failure to produce a permit.”

Know the Costs

Listing on Airbnb is free. They take a three percent host service on each reservation. More than one tax may be involved, depending on where you live. “We pay the six to eight percent city sales tax and a $2.50 occupancy tax for each night’s stay,” Rachael said. “Put aside money from each stay to cover all the taxes. If you don’t pay the city by the end of the year, they won’t renew your short-term rental permit.”

Identify your Audience

“We rent all year long but summers are huge in Nashville, mostly because of the (Country Music Awards) and Fourth of July. You can rent your house out every weekend if you wanted. But we’re being picky and renting only to couples, bachelorette parties (Nashville is second only to Vegas in this past time) and other all-chick getaways.”

Keep Your Keys Safe

“Guests are given a code to the lock box on our front door. We keep one key in it and if they lose it, we’re always nearby to get them back in. So far, there’s been no reason for handing out multiple keys.“

Lock Away Personal Items

“If you really treasure something, put it under lock and key. My husband and I stow all the important papers and valuables in two deadlock bolted closets.”

Make Your Home a Hotel

“We have separate sheets, pillows, comforters and towels for our guests and of course, we launder them after every guest visit,” says Rachael. “There’s also a dedicated space in our pantry and in the fridge for guests to bring their own items.”

Create a Guest Booklet

To make the Airbnb guest experience even more personal, Rachael created a booklet to help them get acquainted with the hosts, the home and the neighborhood. “We tried to cover everything a guest would want to know—for example, how to use the WiFi and TVs, where extra linens are stored, things to do and where’s the nearest Walgreens.”

Be Flexible

“Flights get delayed and canceled. Guests enjoy the city too much and don’t leave on time. Things happen!”

If you have an Airbnb hosting suggestion, share it here.

Dining Room Ideas, Entertaining, Home Accessories Ideas Published: February 6, 2017 | Updated: August 20, 2024

How to Plan An Outdoor Dinner

Nothing goes hand in hand like great weather and outdoor entertaining. Here are a few tips that will make your guests want to linger long after the sun sets.

Spread the news

Unless it’s really a swanky event, feel free to skip the paper invites and send an email to your guests. Make it easy on them and ask them to respond only if they can’t make it.

What’s for Dinner?

Decide what type of shindig you’re throwing. A favorite is pot luck. Just ask guests to let you know what they’ll bring so you can plan the menu. (You don’t want to be faced with three potato salads and no dessert.) Even if guests are bringing food, you should plan on an appetizer to get the evening started. Make an easy antipasto appetizer by filling a generously sized tray with cuts of salami, olives, roasted bell peppers, assorted cheeses and a variety of crackers or slices of a baguette. Cheese platters are always a great option. Click here to find out which cheeses will keep your guests wanting more.

Set the Table

 
You don’t want to use paper plates but also don’t want to risk breaking your dinnerware? An easy solution is to set the table with melamine plates. Melamine is shatterproof and BPA-free.

TIP: Paper napkins and plastic utensils may be more convenient, but you’ll elevate the tone of your event if you pull out cloth napkins and use real cutlery instead.

Break the Ice  

Hot summer evenings demand plenty of ice. Don’t have an ice bucket? No worries. Just line any clean, attractive container with heavy duty plastic to make it waterproof and voila, instant ice bucket.

 
Tip: Don’t forget to place tongs or a scooper next to your ice bucket to prevent the spread of bacteria.

Liquid Refreshments

Set up a bar cart with essentials like chilled alcoholic and non-alcoholic beverages, and of course nothing says summer like lemonade.  Turn it into a classic adult beverage with a British flair by adding Pimm’s Cup No. 1 for a light, refreshing cocktail.


Pimm’s Cup (makes one drink)

  • 1 1/2 ounces Pimm’s No. 1 Cup
  • lemonade (or ginger ale)
  • lemon slices
  • cucumber slices
  • (optional: orange slice, fresh borage and/or mint leaves, apple slices, strawberry)
  • Half-fill a tall glass with ice and a few slices of cucumber or lemon. Add measure of Pimm’s, then top up glass with lemonade or soda. Stir gently and add more ice if necessary. Garnish with slices of lemon and cucumber.

Candles Count

Make the evening magical by placing candles everywhere. They can even do double duty if bugs are an issue when you use these candle holders.

 
That’s Entertainment

Use wireless speakers to liven up the evening with music. And if the evening gets chilly, warm things up with a fire pit. More than just a heat source, fire pits add instant ambiance. Outdoor Ashley HomeStore is appearing in-store soon and now online!

Crafts, Health & Wellness, How To Published: February 6, 2017 | Updated: August 16, 2024

DIY Valentine’s Day Bath Bombs

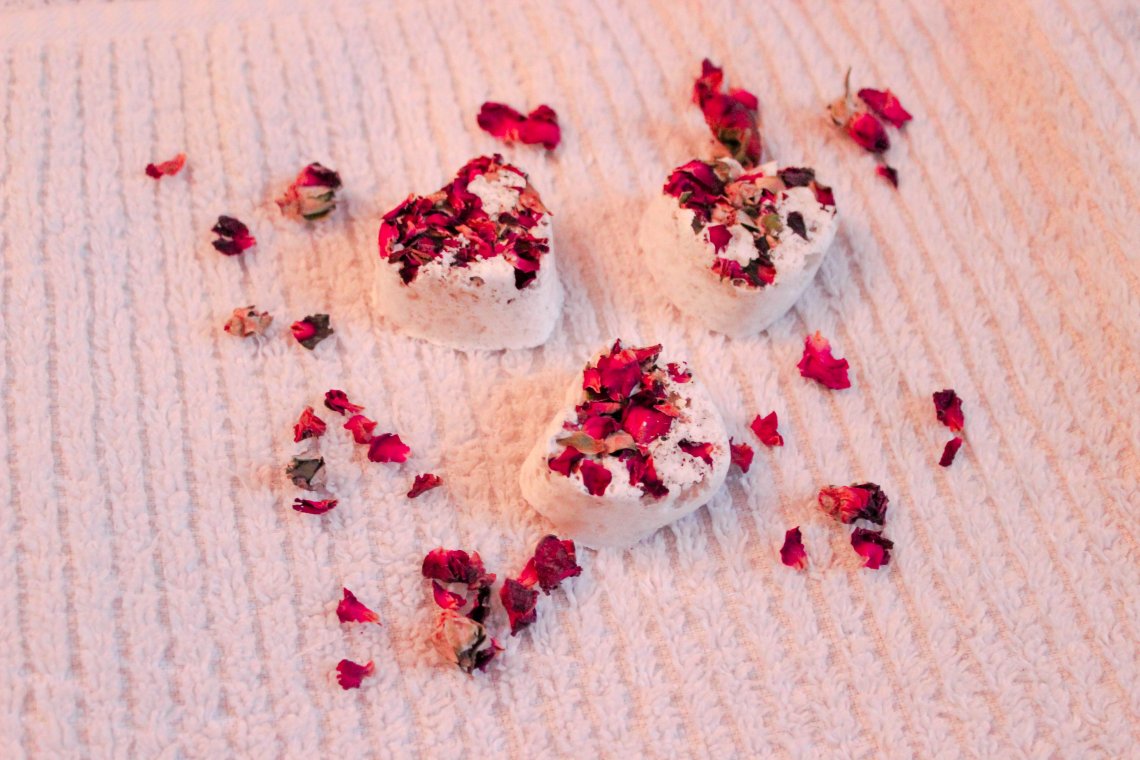
We understand that with a busy schedule, it can be hard to find time to relax and unwind. Just when we feel like the busyness of the holidays has passed, Valentine’s Day sneaks up on us. Whether you’re searching for the perfect gift for friends, teachers, a loved one, or even yourself, a heart shaped bath bomb is something anyone would be thankful to receive.  Below are the foolproof instructions on how to make them.

What You’ll Need:

Heart Shaped Ice Cube or Baking Tray

1 Cup Baking Soda

½ Cup Citric Acid

2 Teaspoons Epsom Salt

¼ Teaspoon of Essential Oils (we chose rose and eucalyptus)

Dried Flower Petals (we used rose)

Rose Petal Witch Hazel

Step 1: Mix Dry Ingredients

Mix baking soda, citric acid, and Epsom salt in a large bowl.

Step 2: Add Oils

Once thoroughly combined, slowly mix in essential oils, distributing the scents evenly.

Step 3: Add Witch Hazel

Slowly pour in small amounts of witch hazel until the mixture is wet, but still holds its shape well.

Step 4: Place Dried Flowers in Tray

Add a few buds and petals to each mold in the tray.

Step 5: Pat Mixture into Molds

Tightly pack the mixture into the tray molds and let dry overnight.

Chocolates and flowers are great but the gift of relaxation and pampering is hard to beat.  Watching love fizzle can actually be fun and beneficial with these DIY heart shaped bath bombs. Let us know how it works for you in the comments below.

Home Decor & Furniture, How To, Living Room Ideas Published: January 30, 2017 | Updated: December 20, 2019

Easy Leather Care Tips

Home is where the heart is, and it’s where our most precious memories are made. It’s also where we make some of the most important investments of our lives. Purchasing leather furniture is oftentimes one of those investments. It can make your home look and feel high end. Follow these easy tips to help leather survive throughout the decades and memories to come.

Weekly cleanings keep leather gleaming.

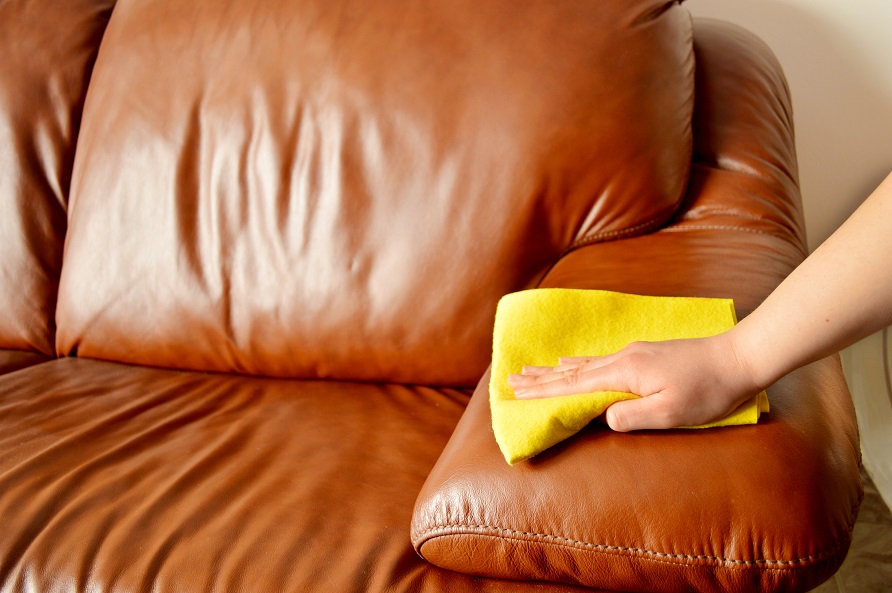
Dust often and use a vacuum cleaner crevice tool to clean seams. Clean weekly using a damp sponge or soft, lint-free cloth. Do not rub; instead, wipe gently. Follow instructions for any gentle leather cleaner you might use. Additionally, leather conditioners provide a barrier to stains and help extend the life of your leather. Before using any cleaning/conditioning product on leather, test it in a hidden area first.

Just [don’t] do it.

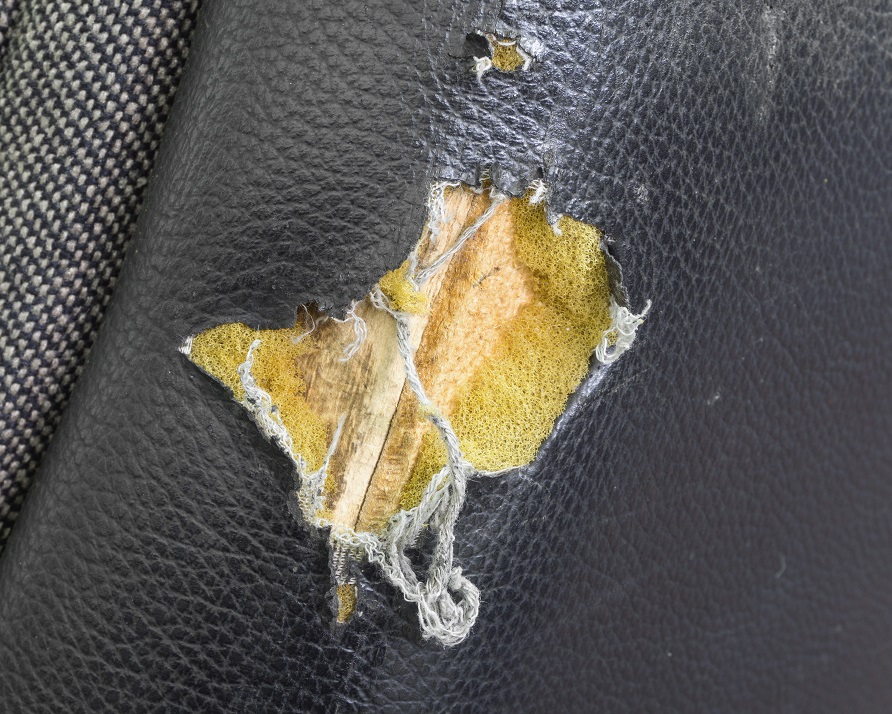
Do not use or place sharp objects on leather goods. Leather is very durable; however, it is not accident or damage proof. Do not place newspapers or magazines on leather furniture. The ink from these items may be transferred onto the leather. Do not use abrasives; harsh chemicals; saddle soap; leather cleaners that contain any oils, soaps, or detergents; or common household cleaners on leather furniture. Only use recommended leather cleaners. When in doubt, call a professional leather specialist.

No sun, hun.

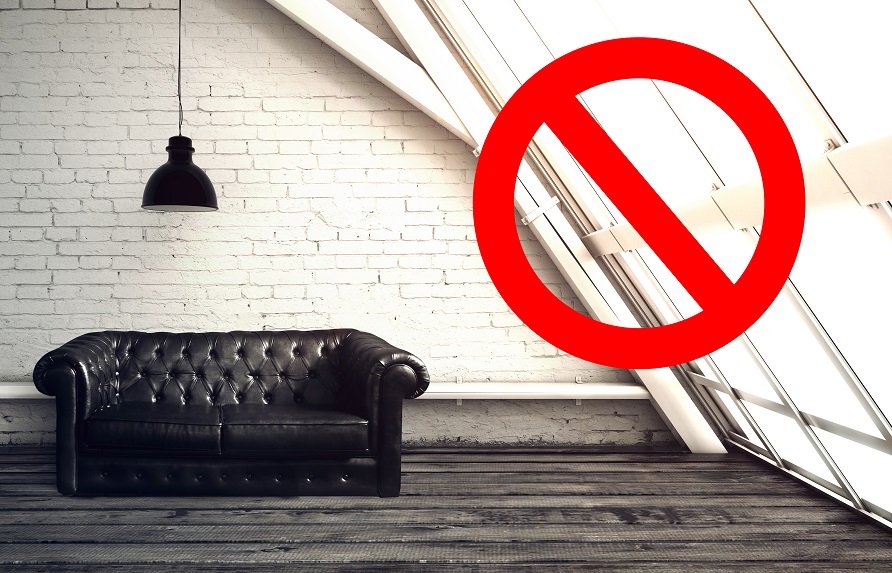
Keep leather furniture out of direct sunlight and at least two feet from heat sources to avoid fading and cracking.

Visit Ashley Furniture for more information on caring for leather.

Crafts, Home Accessories Ideas, How To Published: January 19, 2017 | Updated: July 24, 2024

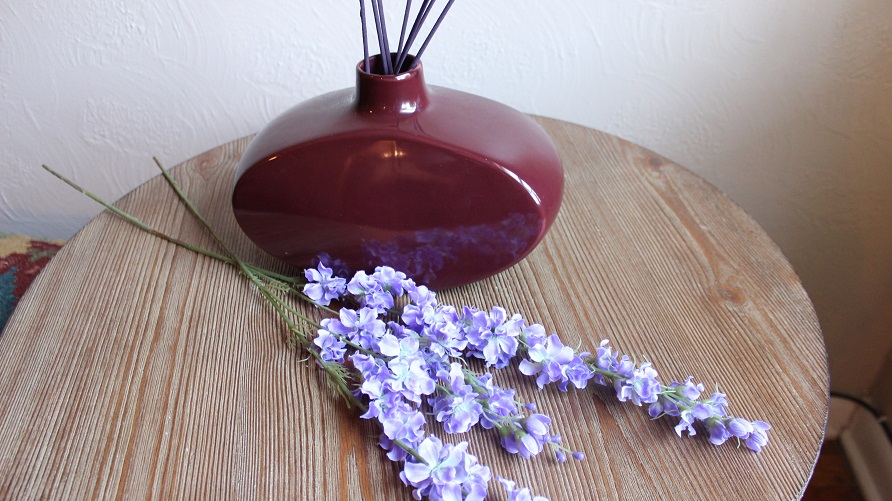
Refreshingly Simple—DIY Reed Diffuser

Do you have a vintage vase or bottle that you’ve been holding onto for years? Maybe it’s time to put those accents to work. Follow these easy step-by-step instructions for turning your ancient artifacts into a breath of fresh air.

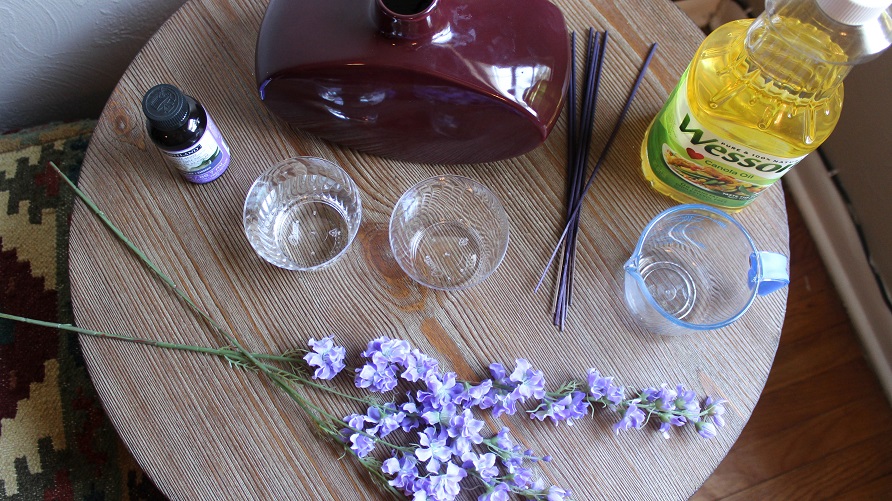
Supplies:

  • Any narrow-necked vase or bottle that is essential-oil safe
  • 1 cup light, unflavored oil (corn or canola work best)
  • 1 tsp essential oil (scent of your choosing)
  • ½ cup alcohol (or unflavored vodka)
  • Tan, black or brown rattan reed diffuser sticks

Step one:

Combine ingredients in a glass measuring cup.


Step two:

Stir gently to ensure the scented oil mixes with the other ingredients.

Step three:

Pour into your vessel until about 1/3 full (save remaining mixture in an airtight container until needed).

Step four:

Place reeds in the vase or jar. Make sure they’re long enough to extend several inches above the opening to allow the fragrance to escape.


And that’s it! Place your diffuser wherever a touch of fresh air is needed. Periodically flip the reeds to release the fragrance anew.

What combination of essential oils do you prefer? Let us know in the comment section.

Health & Wellness, Home Decor & Furniture, Living Room Ideas Published: December 30, 2016 | Updated: August 20, 2024

New Year’s Resolutions Part 3: Getting Fit with Your Furniture

The intention to get in shape is a common New Year’s resolution. What many people don’t realize is that it doesn’t have to take a lot of time and money spent at the gym to do so. Walking often is a great way to keep your metabolism up, and there are many body weight exercises that can be done from the comfort of your living room furniture. The following are a few suggestions on how to multipurpose your living room set for exercise.

Home Accessories Ideas, Home Decor & Furniture, Home Office Ideas Published: December 29, 2016 | Updated: August 16, 2024

Create a Home Sweet Home Office

Typically, the words “cozy” and “workspace” don’t go together, but today we’re going to be bending the rules. The following tips are a great way to add some warmth, personal style and creativity to your desk area.

#1: Add texture and warmth

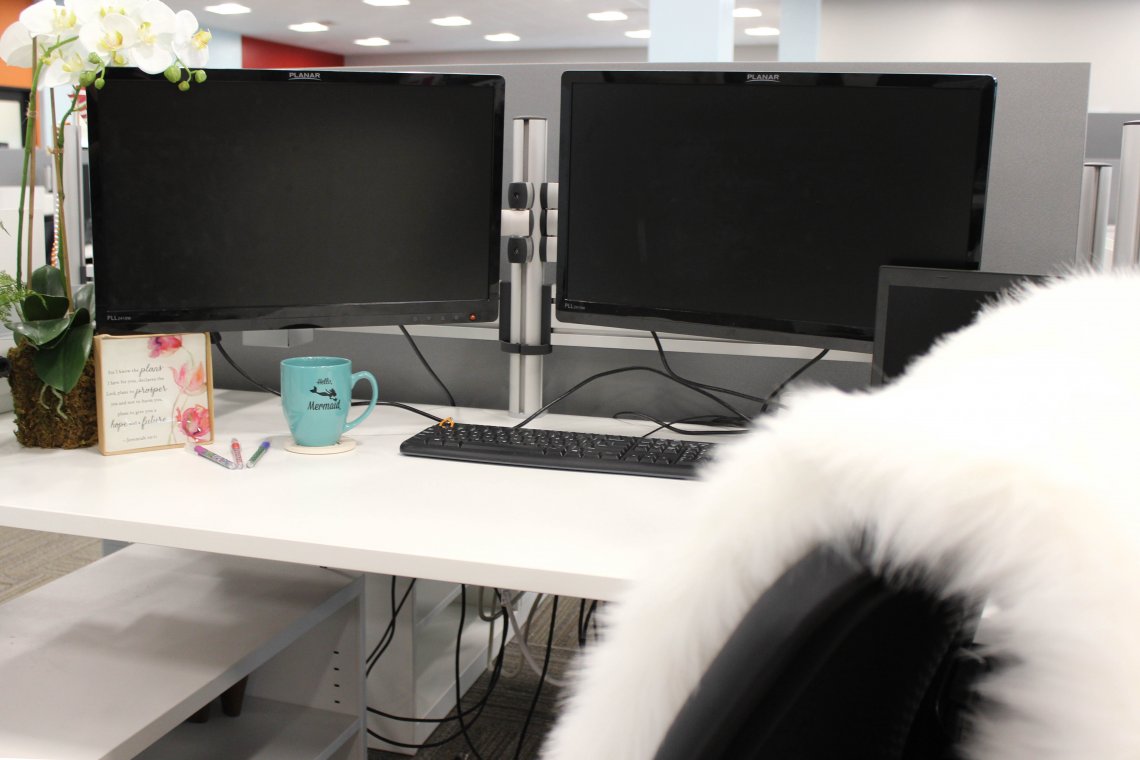
Adding a throw over your chair is a great way to add comfort and dimension to your workspace. You can fold it over your chair back or lay it face up over your seat for added comfort. Faux furs offer the warmth needed for an office and allow you to share your style in a practical way.

#2: Keep it personal

One of our favorite ways to keep a smile throughout the work day is to have photos of loved ones around. By adding photo frames to your desk, you surrounded yourself with positivity, no matter what chaos the work day may bring.

#3: Add creativity, without the clutter

A trick to adding creativity to a smaller space without making it look messy is to go vertical. By using taller, rather than wider, decor you can add an equal amount of personalization but use a fraction of the space. For this workspace, orchids and ferns add a touch of color and complement the earthy sophistication theme.

With these three simple steps, you can transform your workspace and your mindset while making the space comfortable and unique.